DIY

What are the ocean zones?

Just because Shark Week is over doesn’t mean we have to stop talking about these incredible creatures and their vast habitat - THE OCEAN.

Many of us have been to the beach, and possibly even snorkeled under the water or explored even deeper on a scuba dive. But even then, we are only scraping the surface of how vast the ocean is.

In fact, the ocean is made up of 5 layers called zones. Let’s take a look!

OCEAN ZONES

Going from the bottom to the top:

  1. Trench Zone (Hadalpelagic Zone)

  2. Abyss (Abyssopelagic Zone)

  3. Midnight Zone (Bathypelagic Zone)

  4. Twilight Zone (Mesopelagic Zone)

  5. Sunlight Zone (Epipelagic Zone)


The depth of the ocean is defined by the amount of light each zone receives. Remarkably, different organisms thrive in each of these zones, although the majority of marine life is found in the sunlight zone.


What are some of the creatures one might find living in the different ocean zones?

Trench Zone (Hadalpelagic Zone): grenadiers, pearlfish, cusk-eels, cutthroat eels.

  • Temperatures in the trenches are freezing or below, but the water pressure is extreme at eight tons per square inch in the Mariana Trench (the deepest ocean trench on Earth).

Abyss (Abyssopelagic Zone): Mainly invertebrates like tiny squid or basket stars

  • The Abyssal Zone (aka “the abyss”) contains zero sunlight and crushing levels of water pressure. Although the Abyssal zone alone covers around 83% of the total area of the ocean, very few animals can handle the extreme conditions. 

Midnight Zone (Bathypelagic Zone): Mussels, Algae, Sperm Whales, anglerfish

  • The Midnight Zone, as you may have guessed, doesn’t have any sunlight. Any light that IS produced here comes from bioluminescent fish. Like the Twilight Zone, photosynthesis does not occur here, which means you won’t see any plants living in this zone.

Twilight Zone (Mesopelagic Zone): Sea Star, Squid, Eel

  • Most of the creatures that live on the seafloor live in the Twilight Zone. Since only filtered light reaches this zone, many creatures living here have large eyes or glow in the dark!

Sunlight Zone (Epipelagic Zone): Sharks, stingrays, jellyfish, sea turtles, plants

  • Called the Sunlight Zone because this zone is FULL of sunlight, giving this zone ideal living conditions for a wide variety of sea life!


DIY ACTIVITY: OCEAN IN A JAR

Are you learning about the ocean this summer? Teach your child about the five zones of an ocean by creating this layered jar.

Here’s what you’ll need:  

  1. Large clear jar

  2. Food coloring (black, blue, yellow, purple and green)

  3. Funnels

  4. A dropper

  5. ¾* cup of each: corn syrup, oil, dish soap, water, and rubbing alcohol.  *You can adjust the amount based on the size of your jar. 

Going from the bottom to the top:

Trench Zone (Hadalpelagic Zone):  Corn Syrup (tinted black)

Abyss (Abyssopelagic Zone):  Dish soap (tinted purple/dark blue)

Midnight Zone (Bathypelagic Zone):  Water (tinted dark green)

Twilight Zone (Mesopelagic Zone):  Oil (tinted dark blue)

Sunlight Zone (Epipelagic Zone):  Rubbing Alcohol (tinted light blue)


Procedure:

1. Add some black food coloring to 3/4 cup of corn syrup and pour into the bottom of your jar.

2. Mix blue food coloring into 3/4 cup of dish soap. Our dish soap was already blue, but I added a little more blue food coloring to make it darker (in hindsight I would have added less coloring as it was darker than I wanted). Add it to the jar using a funnel.

3. Put blue food coloring in 3/4 cup of water and use a funnel to slowly and carefully layer it on top of the dish soap.

4. Next, you’ll add your oil. If you want to change this to a blue color, you will need to add oil-based food coloring. 

5. Finally, you will add 3/4 cup of rubbing alcohol. You’ll want to use a dropper to slowly add it to the top of the oil, making sure not to break the barrier between the oil and water.

Tips:

  • Position jar in front of window to really see the colors! 

  • Label each zone with stickers

  • Chat with your children about what creatures live in each zone

This post inspired by: Make Your Own Ocean Zones in a Jar - I Can Teach My Child! And The 5 Ocean Zones And The Creatures That Live Within Them | Cape Clasp*

Multitudes of Monarchs

Are you ready to join us and be monarch heroes?

This spring, the Science Mill and Science Outside are launching the Monarch Conservation Project – a year-long program dedicated to supporting and protecting the monarch butterflies.

What is the Monarch Conservation Project?

The Science Mill started this project in the fall of 2023 by becoming a Monarch Watch official Monarch Waystation.

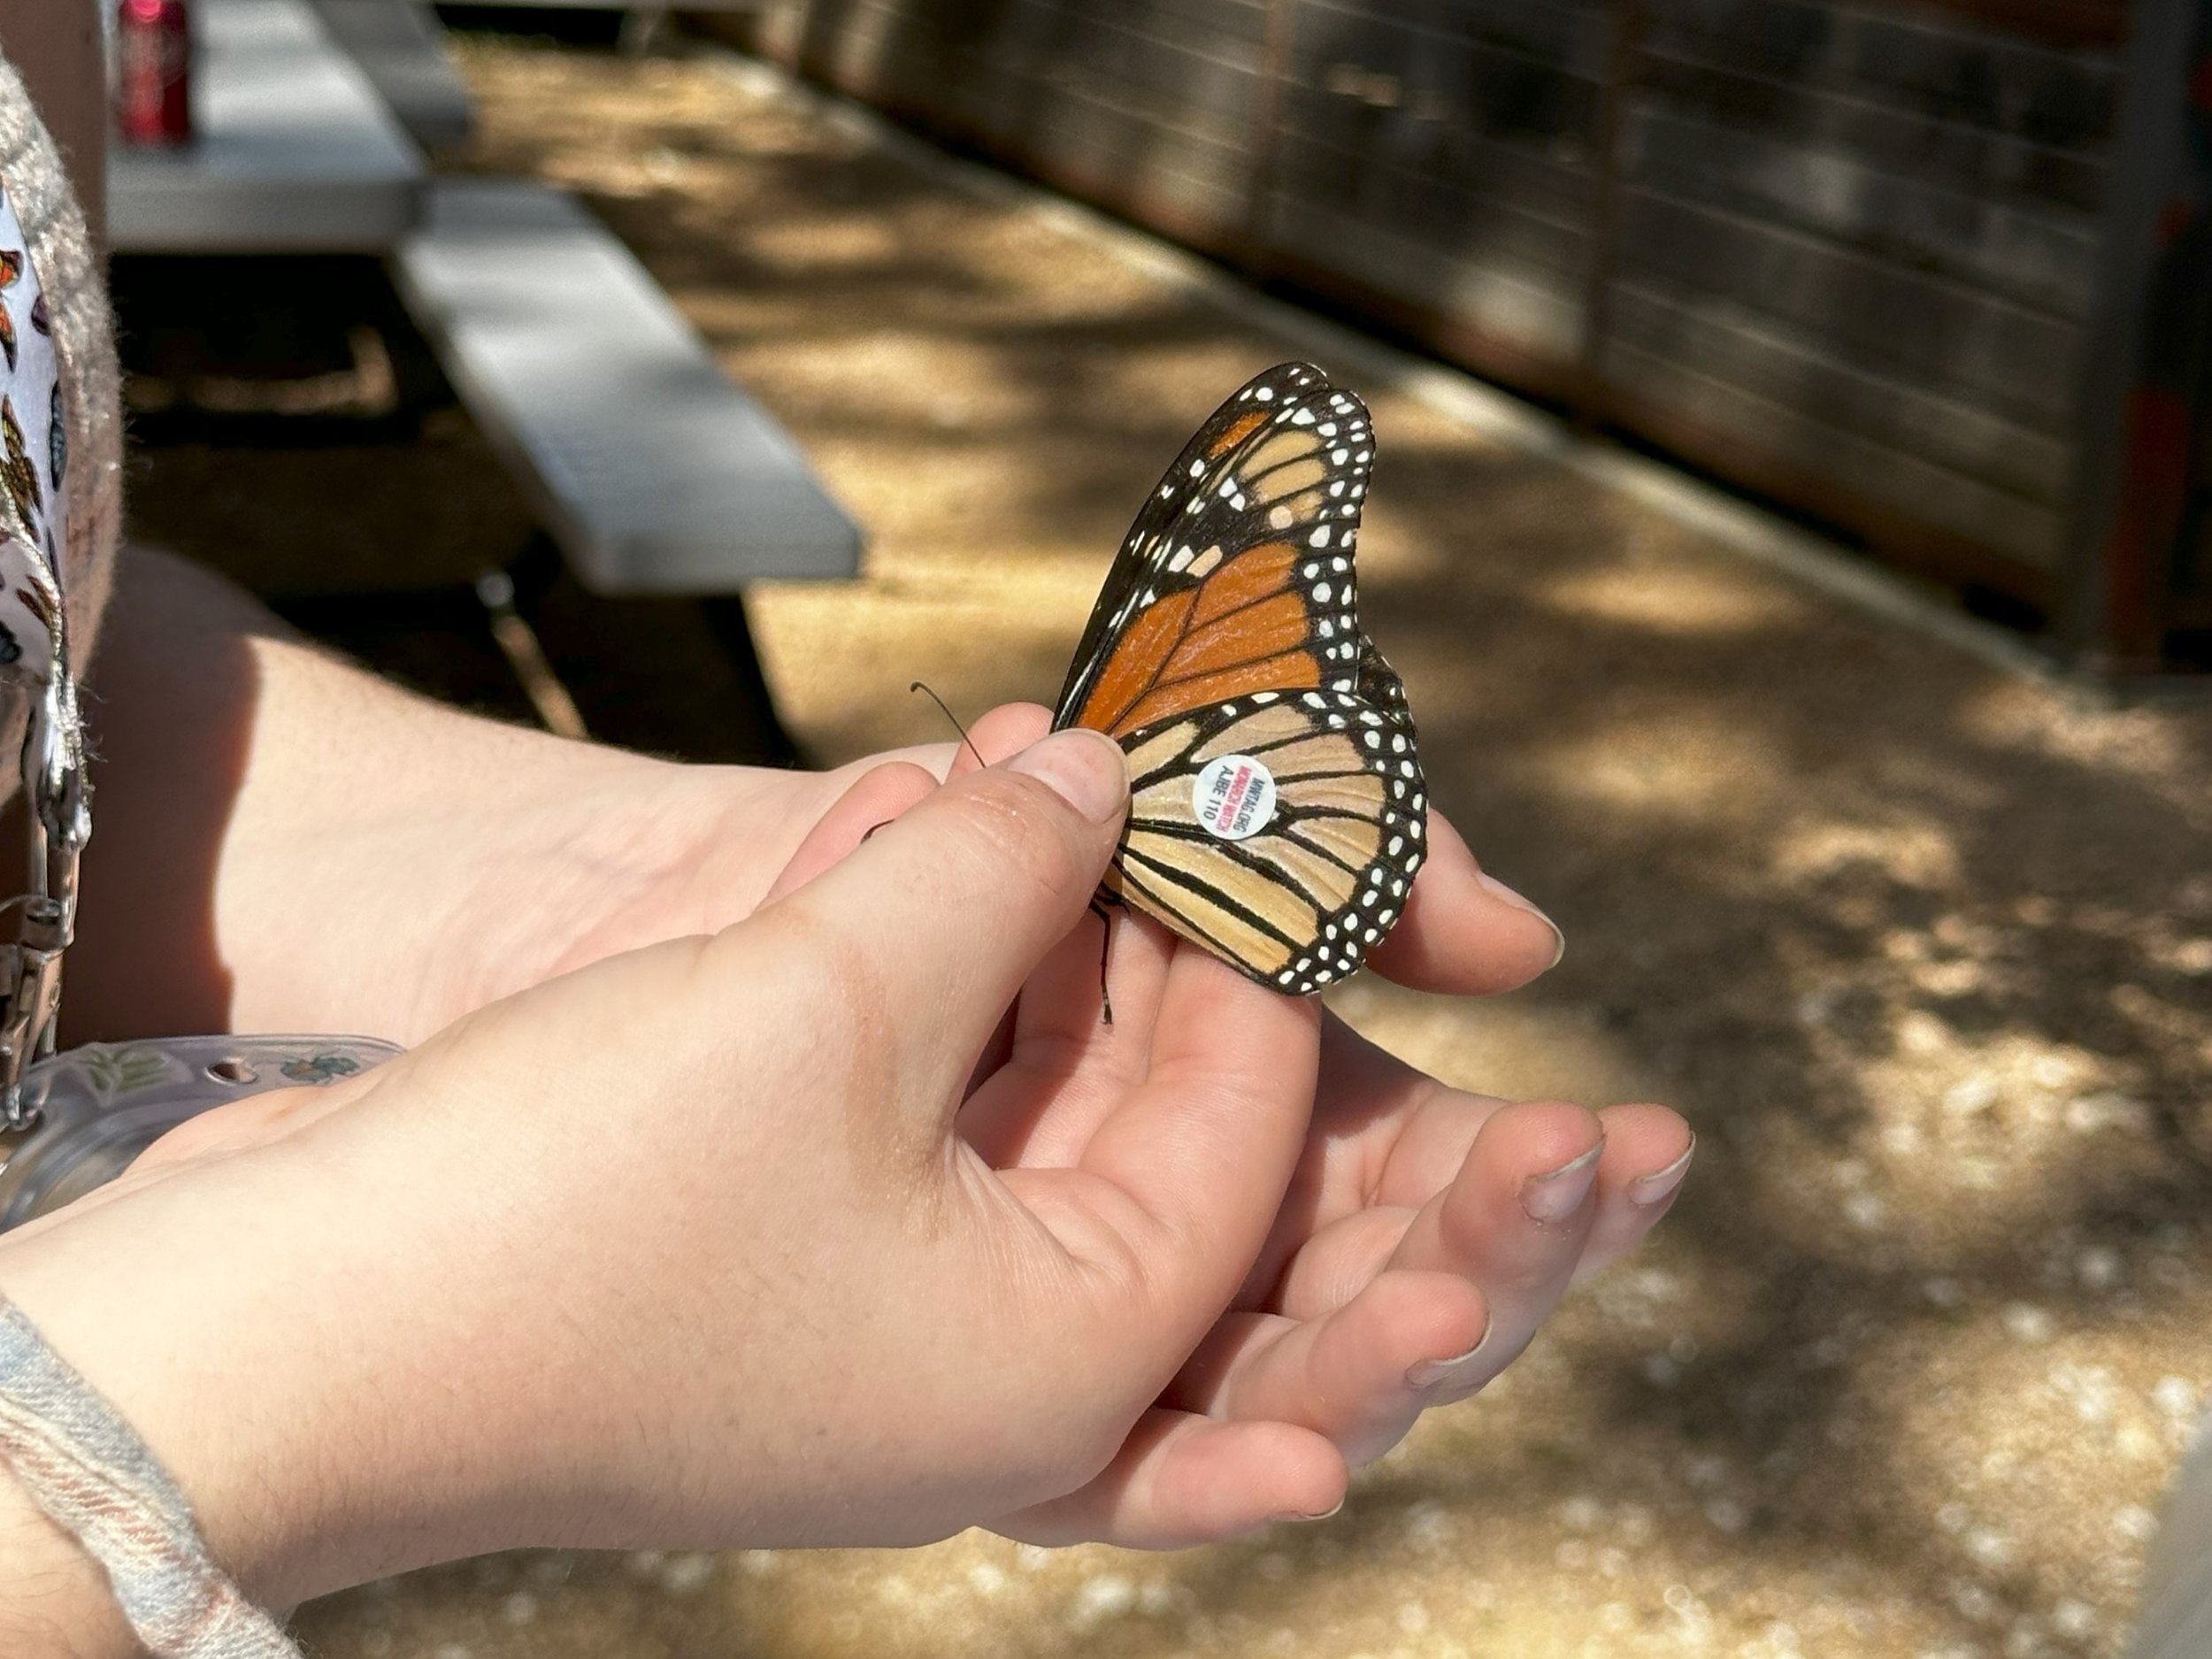
This means that we have a certain amount of land dedicated to planting nectar sources for monarch butterflies as they make their way south, to the Oyamel fir forests of Central Mexico. We also participated in physically capturing and tagging adult monarch butterflies as they stopped in our backyard on their journey. 

Infographic by Xerces Society

From last October’s Monarch Tagging

This spring, we are making further efforts by planting a native milkweed garden and rearing a batch of monarch caterpillars for release.

It is the hope that the milkweed will provide for these and other monarch caterpillars for years to come, along with the wonderful nectar sources in our main pollinator garden providing for adults who may stop in for a rest. If all goes well, another tag and release will be on the horizon for next year's events. 

We hope to learn a lot this year about what works best for our site and really support migration in a big way this fall and in the spring of 2025.

— Rachel Grotte, Environmental Education Specialist and Curriculum Coordinator

It is crucial that small efforts like these are made around the continent, as monarch butterflies are struggling more than ever. Overwintering numbers were down by as much as 60%. Despite the monarch butterfly now being on the endangered species list, we remain hopeful that, with the work of numerous great organizations, collaborations, and efforts, they are on their way to recovery. 

The Science of the Monarch Butterfly: Danaeus plexippus

Monarch butterflies have an incredibly complex life cycle and migration cycle. They are considered holometabolous, or undergo complete metamorphosis. This means that they go through all four stages, including a pupal stage.

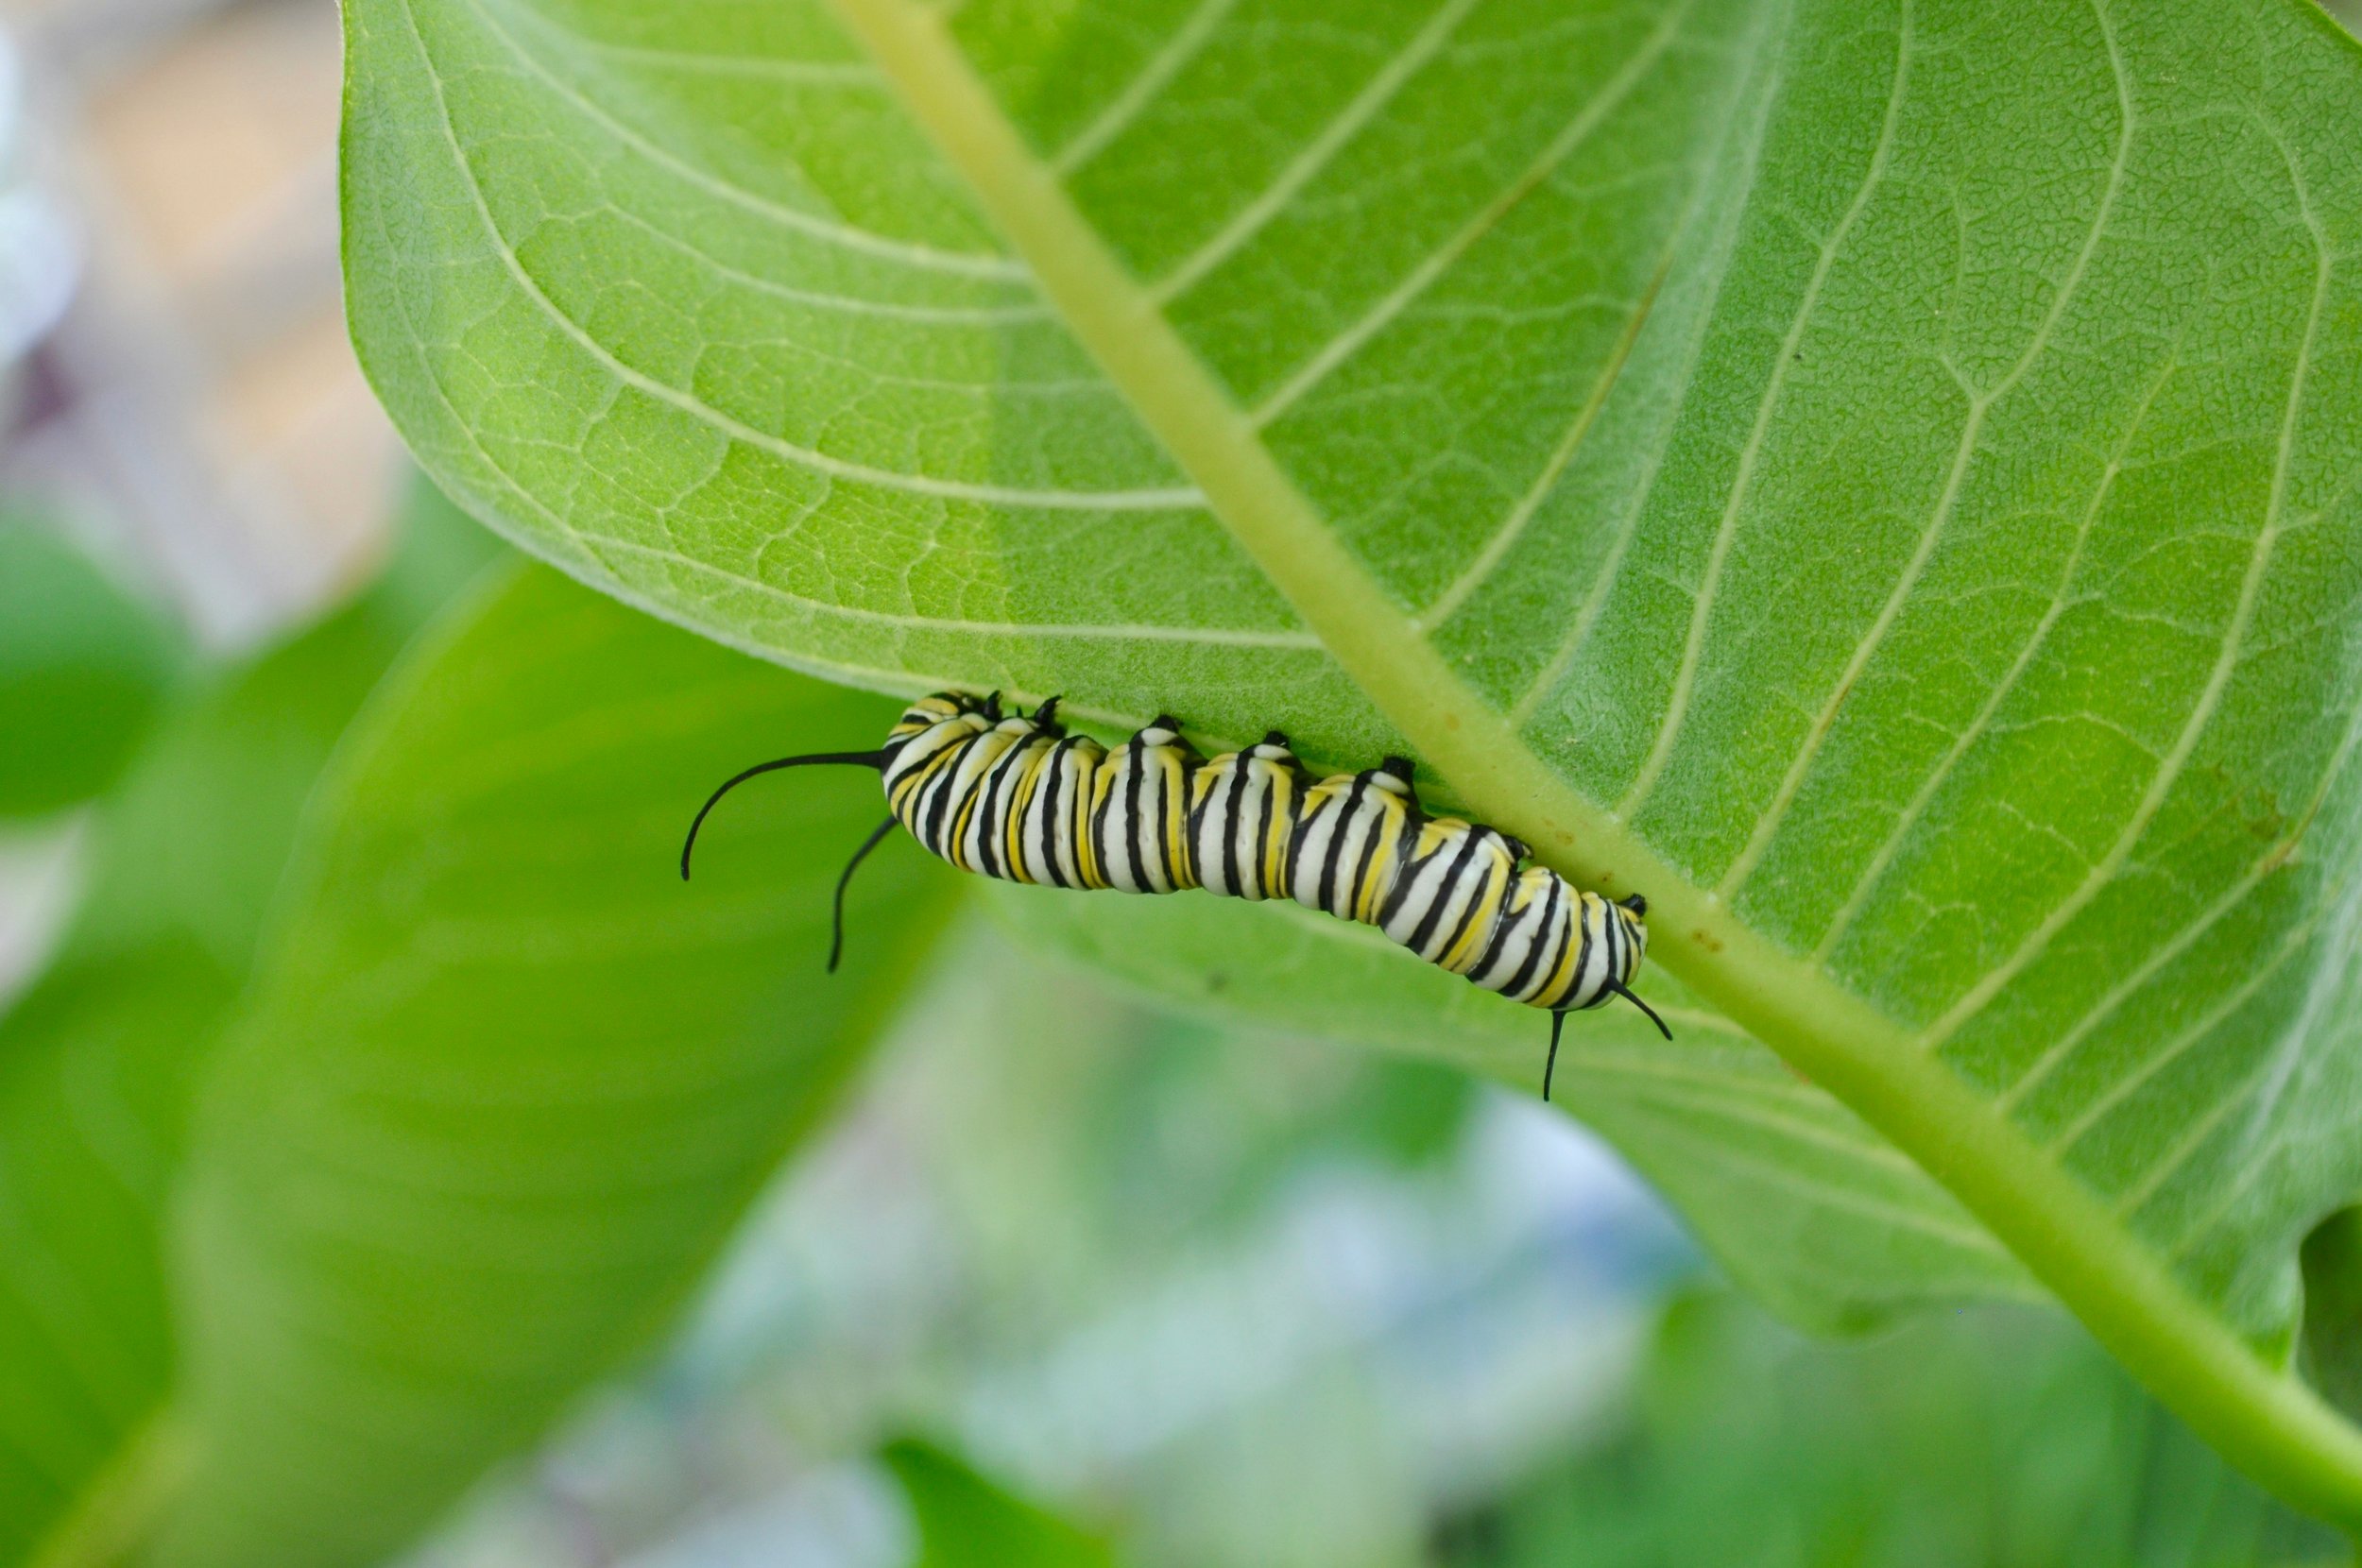
They change from a wiggly caterpillar, ravenous for tender milkweed leaves, eating a foot and a half before being satiated, to a soft jade green chrysalis, then emerging as a rather large black and orange butterfly, as lovely as it is unpalatable to predators, capable of flying hundreds of miles. 

The migration cycle is even more astounding when you realize that the central monarch migration is happening in a sort of grand relay which takes 4-5 generations before completion. Adults live 2-4 weeks at most in the summer, spending it mating and laying eggs on milkweed. Only one of the generations are migrating butterflies, the last of the year. They can live longer, but face many challenges on their way. Learn more about the science of the monarch life cycle at Journey North FAQ with Dr. Karen Oberhauser. 

What can you do to help?

Plant a Pollinator Garden!

If you plant it, they will come. The butterflies that is! Butterflies, bees, flies and many beetles all love nectar. We can plant milkweeds that are native to our region, plus nectar plants for the adult butterflies to rest and refuel on their long journey. Planting a wide variety of other native perennial flowers will serve as a food source for monarchs and other important pollinators. In Texas, we have over 800 native bee species alone!

Native flowering perennials are hardy plants that are often drought resistant, and come back every year, easily supporting the ecosystem of your backyard. See the Xerces Society guide on what nectar plants are the most impactful for Monarch butterflies in your region. Another option is to plant a mixed seed garden meant for your ecoregion. A Southern Plains pocket prairie is great for most of Texas. Native American Seed, based in Llano, is a great resource for inspiration, quality guides and instructions, plus pesticide free seeds just right for your region’s pollinators. We recommend the Pollinators Essentials or many other highly specific seed blends. 

Avoid pesticides

Monarch caterpillars feed specifically on Asclepias leaves, which are found wild and generally uncontaminated by pesticides. (If rearing monarchs, do not feed from sources that may be sprayed.) Flowering nectar plants sold in many large operation nurseries may have had broad spectrum pesticides applied to them, and are not always safe as a nectar source for adult butterflies. Talking to the people at your local nursery is a great idea. Ask them if they use neonicotinoids and similar systemic insecticides. Let them know you would love to see some pesticide free native plants in the nursery. See this page for more ideas. 

Check this database to find a resource near you!

Remove your tropical milkweed

Through research and observation,it is now known that the tropical milkweed (Asclepias curassavica) should not be planted in temperate areas where it does not die back in winter. It can grow later in the season than native milkweed, confusing adults into breeding and laying eggs instead of migrating. These eggs will not survive the winter. In addition, tropical milkweed has been suspected of furthering the spread of a protozoan parasite of monarch’s called Ophryocystis elektroscirrha, or OE. Normally, native milkweeds die back after blooming and the parasite dies along with them so that each summer’s monarch population feeds on fresh, parasite-free foliage.

Participate in Community Science or Community Projects

A great way to help monarchs and other ecologically important species is to get involved in Community or Citizen Science projects. Reporting sightings of monarch butterflies on Journey North or iNaturalist is easy and helps us learn more about Monarch populations. 

You could also consider planting a local community garden with a pollinator focus or create a seed sharing network with your neighbors. You could talk to your neighborhood about leaving the wildflowers during peak season, and avoiding pesticides in landscaping areas. 

Some Monarch specific online community science projects can also be found on Monarch Watch. You can participate by tagging monarchs, reporting monarch sightings to help with population estimates, or get serious and become a trained participant in the Monarch Larva Monitoring Project. 


Public support and resources to get started: 

Community Science and Conservation

What nectar plants to buy

Seed source

What milkweed for my area?

Check where Monarchs are near you or report your sightings!


Craft Corner

Make your own 3D Monarch Butterfly Life Cycle Paper Craft

Video

Instructions:

  1. Print the template provided.

  2. Cut out the pieces. Fold on the dotted lines. 

  3. Add glue to the glue panel on each piece. 

  4. Place the pieces together so that they connect in the correct order of metamorphosis. 

  5. Display your life cycle model proudly and tell everyone who sees it about how they can help conserve monarchs!

Take-home activity idea: DIY Marble Maze!

Looking for a fun AND educational activity to do at home? Try out the DIY Marble Maze!

This simple hands-on project, reminiscent of popular arcade games, is also a great way of demonstrating two scientific concepts: Newton’s Law of Conservation of Energy and his 3 Laws of Motion!

Read on for the full guide. PDF version is also available below!


DIY Marble Maze

STEM Lesson

Newton’s Law of Conservation of Energy states that energy can neither be created nor destroyed. Marble mazes are a terrific demonstration of how energy can be transformed from one form to another. The first form of energy we encounter when using our mazes is potential energy. Potential energy is the stored energy an object has because of its position. If you hold the marble just at the edge of the maze, the marble has potential energy. When you release the marble, it begins to move through the maze as you tilt the cardboard base. Releasing the marble into the maze transforms the marble’s potential energy into kinetic energy. Kinetic energy is the energy of motion. Any object that has mass and is moving has kinetic energy.

Your marble maze also demonstrates Newton’s 3 Laws of Motion:

  1. An object at rest remains at rest, and an object in motion remains in motion at constant speed and in a straight line unless acted on by an unbalanced force. (The marble will remain at rest in the maze unless you exert a force on the maze to move it. The marble travels in zig zag patterns, as opposed to a straight line, because the walls of the maze exert a force on the marble whenever it collides with them.)

  2. The acceleration of an object depends on the mass of the object and the amount of force applied. (The marble moves around the maze quickly due to it’s low mass unless we exert very little force on the maze as we move it.)

  3. Whenever one object exerts a force on another object, the second object exerts an equal and opposite on the first. (This is why the marble bounces off of the walls of the maze when the marble hits them.)

STEM Career

  • Architect: Architects have created mazes throughout history in palaces, playgrounds, memorials and art installations. They have been used to organize storage spaces and to offer a space for walking meditations.

  • Psychologist: Mazes are used by psychologists to better understand spatial memory, which can indicate a person’s cognitive abilities.

Materials Needed

  • Cardboard (assorted sizes)

  • Cardboard boxes assembled (or help students assemble their own)

  • Cardboard tubes

  • Hot glue gun

  • Hot glue sticks

  • Masking tape

  • Duct tape

  • Regular straws

  • Milkshake straws

  • Fuzzy sticks

  • Scissors

  • Box cutters

  • Markers

  • Marbles

Activity Instructions

  1. Select a piece of cardboard or cardboard box to work with. If there are no more boxes left, you can make your own by taping pieces of cardboard together into a cube. Be sure you leave the top of the box open so you can the pieces of your maze.

  2. Choose straws and/or pipe cleaners to build your maze with. Attach them using either hot glue gun or masking tape. Feel free to add tunnels that your marble can travel through using the cardboard tubes.

  3. Don’t forget to make a wall around your maze so that your marble doesn’t escape.

  4. Draw a circle at the top of your cardboard. This will be the starting line. Cut a hole large enough for your marble to fit through on the bottom of your cardboard - this will be the finish line.

  5. Challenge: can you add a base or device below your maze that will catch your marble?

  6. Test your marble in your maze!

Download the guide here.

How to make Flores de Papel

¡Feliz Cinco de Mayo! There are many ways to celebrate this occasion - one way we're doing so is by learning how to make Flores de Papel, or paper flowers, which is a form of Mexican folk art. Try it yourself!

What you need

  • Tissue paper (5-7 sheets; any color you like!)

  • A piece of yarn, around 4 inches long (alternative: pipe cleaner)

  • Scissors

Procedure

1

Gather your tissue paper and stack them neatly.

With your scissors, carefully cut them into squares. 4x4 or 5x5 is a good start, but you can make them in any size!

2

Pile your squares up neatly.

Starting from one edge, make an accordion fold down the length of the squares until you reach the other side.

3

Using your piece of yarn (or pipe cleaner), tie the folded sheets together at the middle. Take care not to tighten it too much. You can trim the excess.

4

Cut the ends into a half circle.

5

Very gently pull the sheets apart and spread them into petals. Be careful not to tear the paper.

Fluff the sheets until you get the shape you want, and you’re done!

You can make as many flowers as you want - feel free to play around with different colors and sizes!

Follow us on social media for more!

Buy Admission Tickets